Mailboxes
To access Mailboxes actions go to Products > Mailboxes.
Mailboxes contains all the email addresses managed by your account. You can add multiple addresses from multiple domains either directly or by importing from Active Directory.

List Actions:
Add email - add an email address to the list
Refresh list - refresh the list of email addresses below
Import - import mailboxes from Exchange Online
Search - search for a specific email address in the below list
Email Address (Mailbox) - the columns displays all email addresses managed by your account.
Note
Double click on any of the email addresses to edit it.
Real Name - The name of the user using this email address. When added, Email Security will automatically generate a number of variants of this name which will also be tracked. This can help to ensure that email to this user is correctly captured by Message Rules. This is currently only supported through Synchronize Active Directory.
Exec Tracking - enable this checkbox to mark the email as belonging to a company executive for the purpose of the Executive Tracking Condition.
Note
You can activate executive tracking for specific Active Directory groups from Group Management.
Manage Variants - add or remove multiple variants of a user's name to improve tracking (name variations, maiden names, middle names, etc.).
Groups - add or remove the user from specific Active Directory Groups
Aliases - associate multiple email addresses to a primary mailbox
Delete - click the delete button to remove the email address on that specific row.
Add a new mailbox
Click the
 Add button in the upper right side of the screen.
Type in the email address.
Note
You must a user that is part of a domain that Email Security is already tracking, To find more information on adding new domains see Product Configuration.
Press Enter.
Import mailboxes using a .CSV file
Note
This procedure is meant for use with a .csv file downloaded from Microsoft Exchange Online, however you can also use a manually created .CSV file.
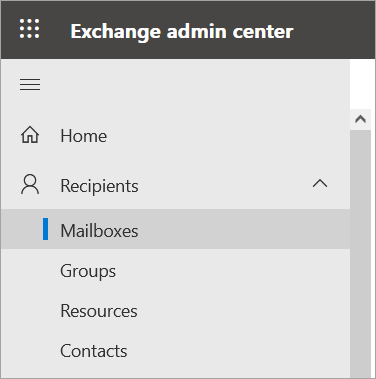
In Microsoft Exchange Online go to Exchange Admin Center.
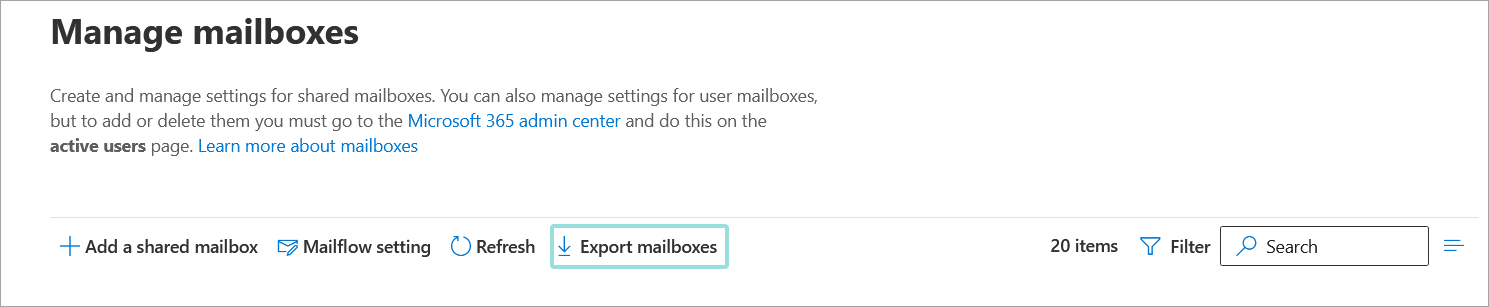
Go to the Mailboxes page.
Select Export mailboxes option from the top of the mailbox list.
Go back to Products > Mailboxes in Email Security.
Click the
 Import button in the upper right side of the screen.
 The following window will appear:
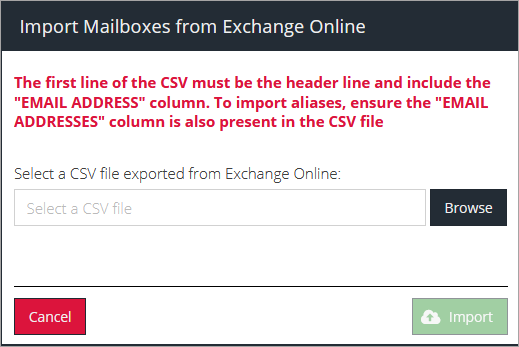
Click Browse and select the CSV file exported from Microsoft Exchange Online.
Click the Import button.
Note
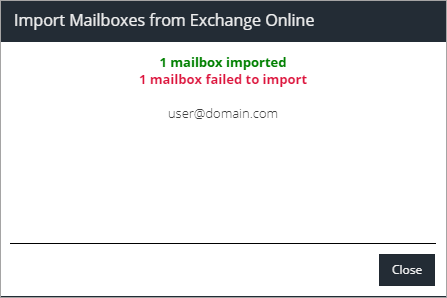
If the email addresses you import are not part of a domain that Email Security is already tracking, the new mailboxes will fail to import. To find more information on adding new domains see Product Configuration.
You can not import Mailboxes that already exist. this includes mailboxes that already exists as a primary or alias.
You can manually create your own CSV file. The minimum requirement is the header line containing the
FIRST NAME,LAST NAME,MAILBOX TYPE, andEMAIL ADDRESSheaders.Examples:
FIRST NAME,LAST NAME,MAILBOX TYPE,EMAIL ADDRESS
John,Smith,User,[email protected]
Jimmy,Smith,User,[email protected]
A window will appear with the results of the import:
Important
Mailboxes will fail to import if:
If the email addresses not part of a domain that Email Security is tracking.
Note
You can add new domains from the Product Configuration page.
The email addresses are associated by already existing users.
The mailbox already exists as a primary or alias.
Edit Mailboxes
Double click the mailbox you want to edit.
Update the mailbox.
Click the Update button.
Manage Active Directory groups
Adding a user to an AD group
Click the Groups button corresponding to the user's email address.
Select between Local or Active Directory groups.
Click the Add Group Membership button.
Check the boxes for the groups you want to add the user to.
Click the Select button.
Removing a user from an AD group
Click the Groups button corresponding to the user's email address.
Select between Local or Active Directory groups.
Click the
 Delete Group button.
Manage Variants
Add name variants
Click the Manage Variants button corresponding to the user's email address.
Press the
Add button.Type in the name variant for the user.
Press Enter.
Delete name variants
Click the Manage Variants button corresponding to the user's email address.
Click the
Delete Variant button next to the variant you want removed.
Manage Aliases
Add alias
Click the Aliases button corresponding to the user's email address.
Press the
Add button.Type in alias for the user.
Press Enter.
Delete aliases
Click the Aliases button corresponding to the user's email address.
Click the
Delete Alias button next to the alias you want removed.