Active Directory
To access Active Directory actions go to Settings > Active Directory.
The Active Directory section allows you to synchronize your GravityZone Security for Email account with one or more Active Directory domains.
Note
If the email addresses you import are not part of a domain that GravityZone Security for Email is already tracking, the new mailboxes will fail to import. You can add new domains by visiting the Product Configuration page. Mailboxes will also fail to import if they already exist.

Delete button - deletes the selected synchronized domain.
Add button - synchronize a new domain.
Source - AzureAD tenant name.
Count - number of synchronized objects from AD.
General information
Azure Active Directory connections require a trust relationship with Microsoft Azure/Graph API. The Azure AD will be polled for changes every 15 minutes.
Enabling the Only sync users with this attribute set option will limit the synchronization of user objects into the Email Security cloud account and as a result, limit the user objects synchronized with all licensed products. If you intend to use extension attributes with Azure AD, you will need to synchronize them with Azure AD using the Microsoft Azure Active Directory Connect tool. It is possible to use multiple values, separated by semi-colon ; with this attribute filter.
The Only sync groups with this attribute set option only limits the synchronization of groups. Users will not be excluded unless the Only sync users with this attribute set option is also used in conjunction. This group filter is purely for excluding group objects. It is possible to use multiple values, separated by semi-colon ; with this attribute filter.
Deleting an Active Directory connection will delete all of the objects and any reference to them will be removed.
If a user is a member of nested groups in Active Directory, the group membership list will be flattened when synchronized with Email Security.
It is not possible to specify a custom attribute to obtain email address and phone number values from when using Azure AD.
The account must have an email domain configured.
The user objects must have an email address that matches the configured email domain.
Note
Please note that email addresses should conform to 7-bit ASCII. Special characters introduced with the RFC 6531: SMTP Extension for Internationalized Email (SMTPUTF8) are not supported.
If the above conditions are met, user email addresses will appear in the Mailboxes view. If the email address is not in the Mailboxes view (or existing as an alias to an existing mailbox) then mail will be rejected.
Exchange distribution lists will be visible in the "Everything" section of the Active Directory view.
User objects must appear in the Active Directory view before they can be synchronised with the Email Security product.
The service will poll for changes to Active Directory objects every minute and then attempt to synchronize them with the Email Security product.
Requirements
For more information on this topic, refer to to Requirements.
Adding a domain using Azure Active Directory
Note
Before adding a domain make sure it is configured in the Product Configuration > Domains section.
Click the Add domain
 button on the upper right of the screen and select Azure Active Directory.
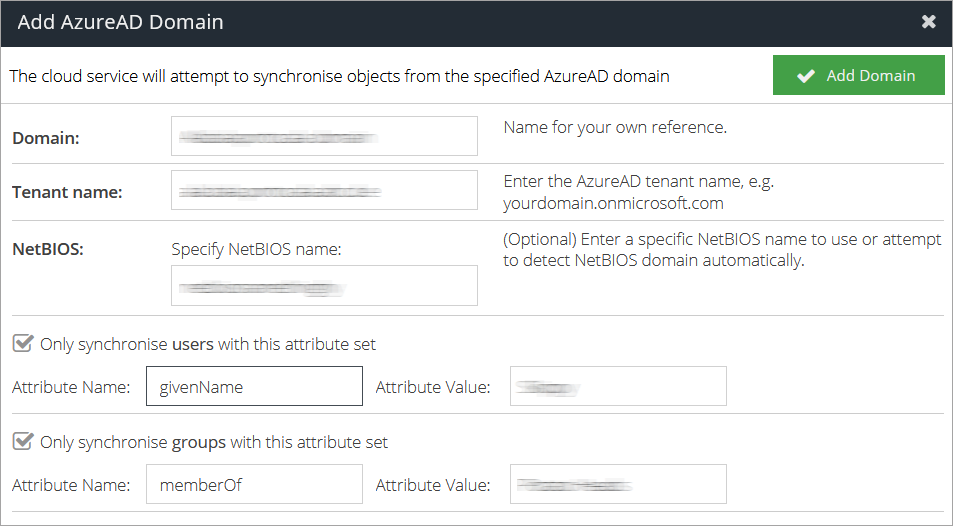
Enter a name under Domain. This will be used to identify this domain in the list shown in the Active Directory screen.
Add your AzureAD tenant name under Tenant Name.
Note
For information on how to find your tenant name refer to this Microsoft kb article.
Important
You only need one Azure synchronization item. You can use it for all your domains.
(optional) Enter a specific NetBIOS name under NetBIOS. This will only import date from a specific NetBIOS domain instead of searching automatically.
(optional) Check the Only synchronize users with this attribute set box and enter the attribute name and value. This will only import the users that have this specific attribute to Email Security.
(optional) Check the Only synchronize groups with this attribute set box and enter the attribute name and value. This will only import the groups that have this specific attribute to Email Security.
Click the Add domain button in the upper right side of the screen.
Adding a domain using On Premise Active Directory
Note
Before adding a domain make sure it is configured in the Product Configuration > Domains section.
Click the Add domain
 button on the upper right of the screen and select On Premise Active Directory.
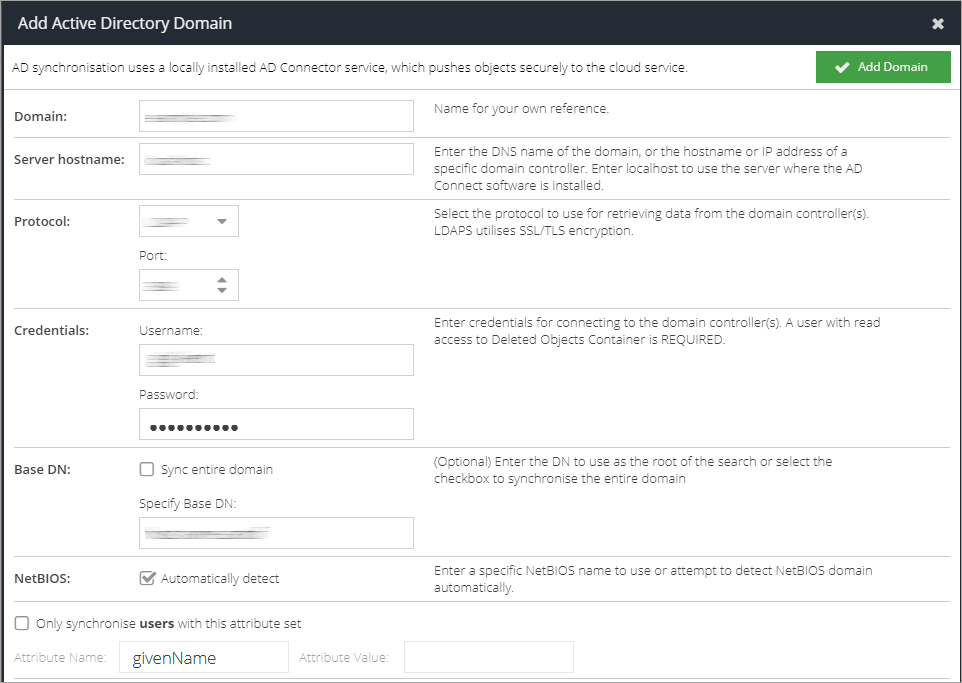
Fill in the domain information:
Enter a name under Domain. This will be used to identify this domain in the list shown in the Active Directory screen.
Under Server Hostname enter the DNS name of the domain, or the hostname or IP address of a specific domain controller.
Note
To use the server where the AD Connect software is installed enter localhost.
Enter a valid Username and Password to connect to your domain.
(optional) If you don't want to sync all the domain, uncheck the Sync Entire Domain box and enter a Enter a base DN to use as the root of the search.
(optional) If you don't want to automatically detect NetBIOS names, uncheck the Automatically Detect box and enter a specific NetBIOS name to use.
(optional) Check the Only synchronise users with this attribute set box and enter the attribute name and value. This will only import the users that have this specific attribute to Email Security.
Click the Add domain button.
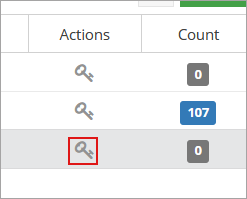
Click the Generate key button.
Click the Add API key button.

Copy the provided Client ID and Client Secret.
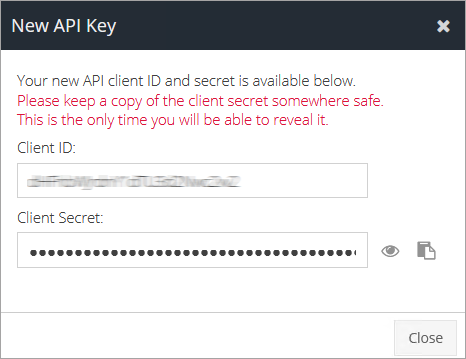
Use the credentials to configure AD Connect.
Note
To configure AD Connect you need to use the AD Connect Setup Tool, which is added automatically as part of the AD Connect installation.
Edit domain settings
Double click on the domain you want to edit.
Go to the Settings tab.
Make the desired modifications.
Click on the Apply Changes button in the upper right side of the screen.
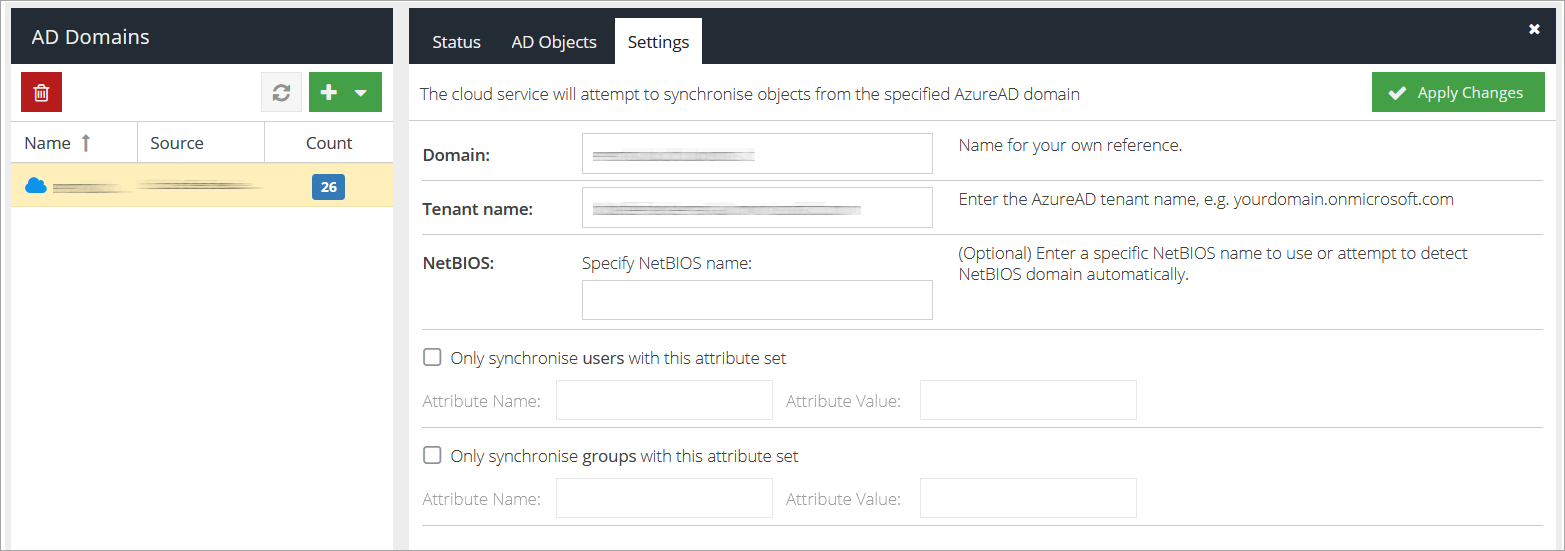
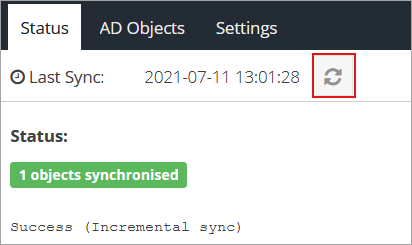
Synchronize Active Directory
Double click on the domain you want to synchronize.
Go to the Status tab.
Click the Synchronize button.
