Configure Office 365 for GravityZone Security for Email
Follow these procedures to integrate GravityZone Security for Email with Office 365, for inbound and outbound email delivery.
To configure GravityZone Security for Email for use with an Office 365 account follow the steps below:
1. Configure GravityZone Security for Email Inbound Mail
Go to Products > GravityZone Security for Email > Product Configuration.
Go to Inbound Mail.
Click Add to add a new delivery route and fill in the route information:
Under Domain, type in the domain name of the host you want to redirect.
Under Cost set route priority.
The cost defines route priority for multiple routes.The lower the number, the higher the priority.
Under Route enter the 0365 domain name (e.g.
domain-com.mail.protection.outlook.com)Note
This can be found under O365 > Settings > Domains > Domain Details > MX Value

Update to save changes.
2. Configure Office 365
Log in to Microsoft 365 Defender.
Click Policies & Rules on the menu in the left side of the page.
Select Threat Policies.
Select Anti-Spam Policies.
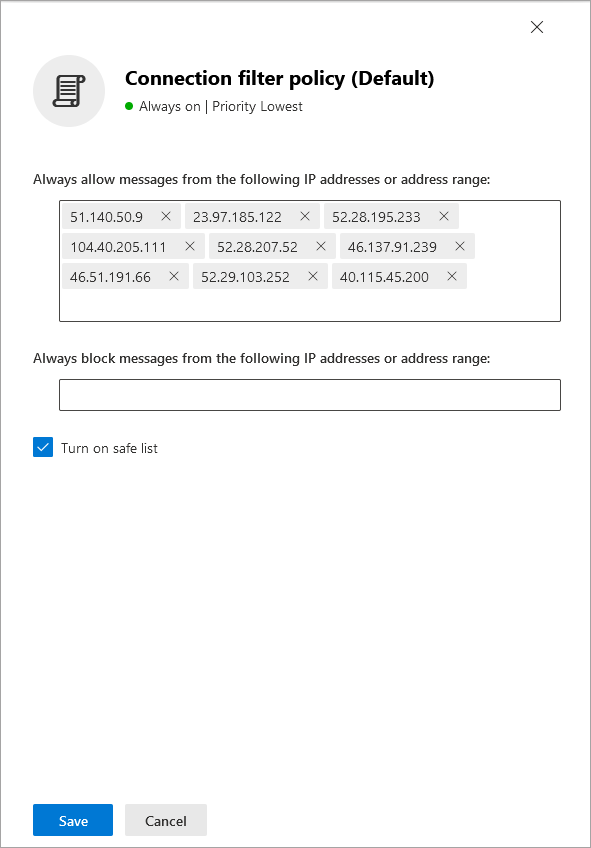
Click Connection filter policy.
The Connection filter policy (Default) panel is displayed.
Click Edit connection filter policy.
In the Allowed IP Address section, add all of the IP addresses according to the correct addresses for your cluster - see Europe, United States.
Select the Turn On Safe List checkbox.
Click Save:
3. Configure GravityZone Security for Email Outbound Mail
Go to Products > GravityZone Security for Email > Product Configuration.
Go to Outbound Mail.
Click Add.
Under Hostname enter the following string:
spf://spf.protection.outlook.com
Update to save changes.
Please follow the steps in this article to restrict Office 365 and then return to this article to continue configuration.
Follow the steps below to configure Office 365 to always send messages using the EMS server:
Log in to your Office 365 Admin Center, and go to Admin Centers > Exchange.
In the left-hand pane, click Mail Flow > Connectors.
Click + to add a new connector.
In the From: field, select Office 365.
In the To: field, select Partner Organization.
Give the new connector a sensible name.
Click Next.
Under When do you want to use this connector? select Only when email messages are sent to these domains, then click the + icon and enter
*.Click Next.
Under How do you want to route email messages, select Route email through these smart hosts.
Add hosts according to the correct addresses for your cluster - see Europe, United States.
Click Next and then click Confirm to create the connector.
Note
If you wish to verify the connector, be sure not to use an internal address. For example, use a personal email address which is not a domain configured for your customer.
If the validation fails check the settings below before contacting technical support:
The connector is enabled.
The default domain is the domain configured in EMS domain settings (MailFlow > Accepted Domains).