Web Access Control Scheduler
This feature enables users to enhance their flexibility in configuring diverse time intervals for Web Access Control by generating schedules with multiple time window configurations and allocating categories to individual schedules. The categorization elements will be eliminated from the policy, and the new schedule will be associated with the policy.
Creating and editing a schedule
Web Access Control Scheduler enables you to allow or block web access for users or applications during specified time intervals.
To start using the Web Access Control feature you first must create a schedule, by following the bellow procedure:
Log in to GravityZone Control Center.
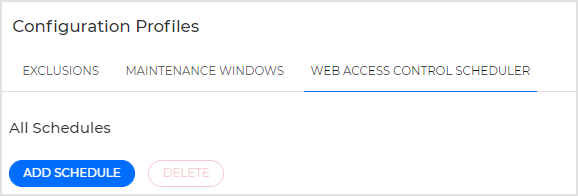
In Configuration profiles go to Web Access Control Scheduler.
Click Add Schedule.
Add a suggestive Schedule Name.
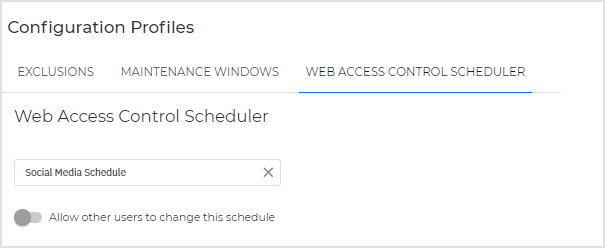
If any other users should be able to edit the schedule set the toggle to the Allow other users to change this schedule position.
In the Scheduler field add a new Category Scheduler and set it up.
In the Categories section choose the categories from the dropdown list.

Click Apply.
In the Action section, choose the action you want to take.

Choose the timeframe for the selected action from the Starting with and Between fields.

Note
Make sure the start time occurs before the end time.
Click the Add new scheduler button. You can add more schedulers to a main schedule to better customize the Content Control feature for your company's needs. This will add the new schedulers to your newly created schedule.
Click Save.
Example scenario
An IT administrator responsible for managing web access for users in an organization wants to create a schedule using the Web Access Control feature to restrict access to social media websites in the 09:00 -18:00 time interval.
The following steps need to be performed to set up the scheduler:
In Configuration profiles go to Web Access Control Scheduler and click on Add Schedule.
Name the Scheduler, add the new Category Scheduler and set it up, by selecting the category that needs to be blocked (e.g. Social Media). Apply the changes and choose the action you want to take (e.g. Block) in the Action section.
Choose the timeframe for the selected action from the Starting with and Between fields (e.g. 09:00 -18:00) and click the Add new scheduler and Save buttons.
Assigning a schedule to a policy
This is how you assign a schedule to a policy:
Go to Policies and click Add to create a new policy, or open an existing one to edit it.
In the Content Control section access Web Access Control .
Use the switch to turn Web Access Control on or off.
From the Assign Schedule drop-down select the schedule you want to apply.

Click Save.
Filtering in the Web Access Control Scheduler section
In the Web Access Control Scheduler section you can easily filter and search for schedules by using the options available in the details grid.

The details grid will display the scheduler accordingly. Details include:
Schedule name.
Status - indicates whether the schedule is being used or not.
Last modified - displays date and time when the schedule was modified.
Last edited by - indicates the last user who modified the schedule.
Categories affected – displays and allows you to search the categories affected by the schedule.
Permissions - indicates whether other users have shared permissions to modify the displayed schedules.
You can sort the schedules by clicking the header of the following columns: Schedule name, Status, Last modified, Last edited by, Permissions, In Policies.